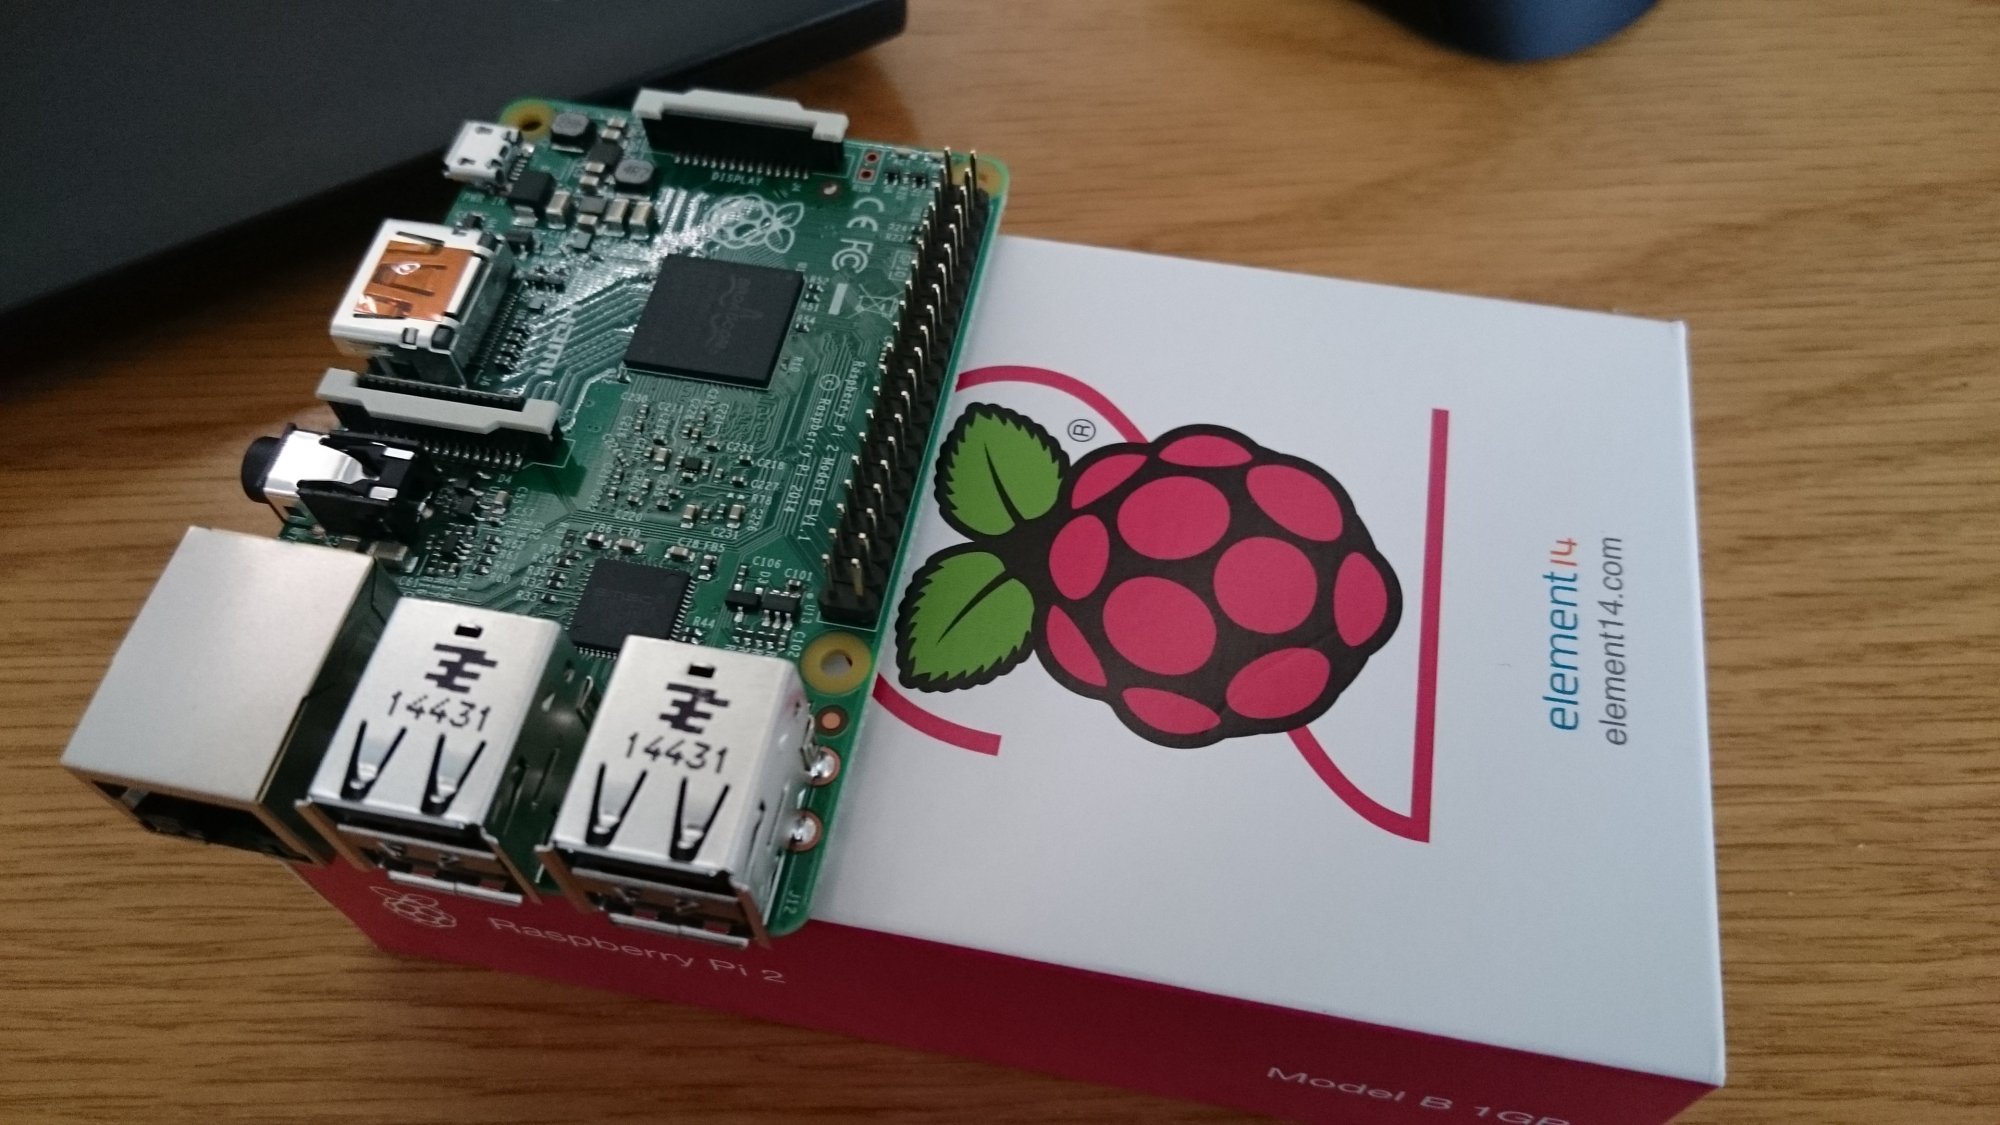
I've been using a Raspberry PI Model B as a mini-server for some time now and when the new RasPi was announced I was surely going to upgrade it. That moment is here, but there's one aspect I've always wanted to improve on: the official Raspbian image that you can download is not really fit for a server - it has all sorts of stuff installed (I actually managed to run out of space on my SD a few times) and it's still running Debian 7 (Wheezy).
But fear not, I found a solution for all of the above, thanks to two awesome projects (more about them below): how to install a minimal server image running Raspbian Jessie (Debian 8).
In the meantime though, an obligatory picture of the shiny new toy, mmmmmmm feel that fresh PCB smell.

Building the installer image
The first step is building the network installer image that you can boot from the SD card on the RasPi to trigger the unattended installation process - it then downloads and install packages according to a preset, using all the available disk space.
You could get pre-built images from the releases channel of the raspbian-ua-netinst project (see the Installation section in the Readme), but where's the fun in that, especially as you could very easily build it yourself!
And to do that, you need a few prerequisites: Vagrant, VirtualBox and Ansible. Don't worry if you don't know how to use these tools very well, everything is pretty much scripted and you only have to run a few shell commands.
The Vagrant setup was put together by Martin Eskdale Moen, but I've forked his raspbian-ua-netinst-vagrant repository to fix an error when starting up the VM. As he has not yet merged my fix, we will be using my repository instead.
Open up your favorite shell (I'm doing all this on Ubuntu, but it should work on Windows/Mac just as well) and do the following in a fresh folder:
git clone https://github.com/cmsirbu/raspbian-ua-netinst-vagrant
cd raspbian-ua-netinst-vagrant
vagrant up
What happens now is that Vagrant downloads a standard Ubuntu/Trusty64 VM image and then starts a clean instance so that Ansible can provision it (basically update packages and install a few dependencies). Once Ansible has run you should see the following messages:
PLAY [all] ********************************************************************

GATHERING FACTS ***************************************************************
ok: [default]

TASK: [Update packages] *******************************************************
changed: [default]

TASK: [Install deps] **********************************************************
changed: [default] => (item=git,curl,zip,xz-utils,gnupg,kpartx,dosfstools,binutils)

TASK: [Get repo] **************************************************************
changed: [default]

PLAY RECAP ********************************************************************
default                    : ok=4    changed=3    unreachable=0    failed=0
Once this is done and you haven't noticed any strange text in red (errors), you can SSH into the machine and start building the netinst image!
vagrant ssh
cd rpi-ua-inst
./update.sh
By default, the installer will be configured for Wheezy repositories. Now that Jessie is available in both Raspbian and raspberrypi.org repos, there is no reason why you wouldn't install it. To do that, run the following command (more about installer-config.txt here):
echo "release=jessie" > installer-config.txt
Then continue with the build of the zip file:
./build.sh
The result of this command is a zip file that you can simply extract on the SD card to boot the RasPi and trigger the installation. To do that, you first need to move the file out of the VM via the shared folder:
mv raspbian-ua-netinst-*.zip /vagrant/
End the SSH session and extract the raspbian-ua-netinst-[VERSION].zip contents to a FAT formatted microSD card.
Booting the Raspberry PI
Move the microSD to the RasPi and power it on - this is a network install so don't forget to connect it to the network! If you connect a monitor via HDMI you can follow the installation (useful to know when it's actually done, as it might take a while depending on your Internet speed and the fact that the RasPi is no supercomputer ;) ).
Once the installer's done, the RasPi will reboot, so if you see a login prompt you're done! Enjoy your new Debian 8 powered RasPI - use root/raspbian to log in.
root@pi:~# uname -a
Linux pi 3.18.0-trunk-rpi2 #1 SMP PREEMPT Debian 3.18.5-1~exp1+rpi16 (2015-03-28) armv7l GNU/Linux
Cleaning up
Back to your computer, the VM you used to build the image is still running - if the install was successful and you don't need to tweak anything, you can safely dispose of it:
vagrant destroy
And you can delete the working folder, perhaps keeping the installer image somewhere safe - although it's not hard to rebuild it using this procedure in the future.
There's lots more detail about things you can do with on the website of the raspbian-ua-netinst project, but if you get stuck let me know in the comments below and I'll try to help (the beauty of this method is that it's consistent due to running in a controlled environment, so I don't expect many deviations from the norm).
And, as always, thanks for reading.